- Boat InsuranceBoat Insurance
We’re proud to say our boat insurance is among the best in the business. From sailing yachts, to inland cruiser and liveaboards whatever your craft, our policies are designed to give you confidence and protection on the water
- Barge InsuranceBarge Insurance
Protect your barge from waterway mishaps with our top-notch boat insurance policies. Go for ‘Base Layer’ if you just want third party protection, and ‘All Weather’ for comprehensive cover.
- Commercial Boat InsuranceCommercial Boat Insurance
When your boat is your livelihood, the stakes are very high, so it’s crucial to choose the right insurance. Discover our Commercial ‘All Weather’ policy, created especially for business boats like yours
- Dinghy InsuranceDinghy Insurance
Whether you use your dinghy for racing or recreation, you’ll want to know you’re fully covered when you set sail. Check out our policies and see what floats your boat.
- Inland Cruiser InsuranceInland Cruiser Insurance
When you own an inland cruiser, the world’s waterways are your oyster. But it’s best to plan for the unexpected, as even on a day trip, anything can crop up.
- Motorboat InsuranceMotorboat Insurance
At Haven Knox-Johnston, we’ll help you make lighter work of insuring your motorboat. Check out our policies, and why not get a free motorboat insurance quote today?
- Houseboat InsuranceHouseboat Insurance
Whether your houseboat is a place you call home, or holiday getaway, we’ve got you covered.
- Narrowboat InsuranceNarrowboat Insurance
Variety is the spice of life, and for narrowboat owners, that’s especially true. So you’ll want boat cover that’s flexible enough for whatever crops up, from a team that really knows the ropes.
- RIB InsuranceRIB Insurance
Whatever you use your RIB for, one thing’s certain – your boat insurance needs to be as hard-working as your boat. And when you take a policy with Haven Knox-Johnston, rest assured it will be.
- Speedboat InsuranceSpeedboat Insurance
These boats are all about excitement – and when you’re insuring your speedboat, you need cover that can keep up. That’s where we come in. Why not get a quote today?
- Yacht InsuranceYacht Insurance
You can’t beat the yacht life, but it’s no secret it’s not the cheapest of passions. With our in-depth knowledge of the yachting sector, we’re perfectly placed to protect your price and joy.
- Personal Watercraft InsurancePersonal Watercraft Insurance
- Barge InsuranceBarge Insurance
- PolicyholdersPolicyholders
Welcome back loyal policyholder! This is your hub for quick access to policy details, helpful resources, and exclusive loyalty perks.
- Renew my policyRenew my policy
Non EEA Customers can renew their boat insurance policy with Haven Knox-Johnston
- Report a claimReport a claim
Need to make a Claim? please complete the form and attach any information
- Buddy’s BenefitsBuddy’s Benefits
Share the love and refer us to your shipmates. If they jump onboard, then you will both receive £20 Amazon Voucher!
- Loyalty BenefitsLoyalty Benefits
Boat insurance with benefits
- FAQsFAQs
All your boating questions answered
- Renew my policyRenew my policy
- Boating HubBoating Hub
The boating hub – your one-stop space for boating guides, cruising maps, podcasts, webinars, marina finder, and an A–Z of nautical terms.
- Risk management for boat ownersRisk management for boat owners
Stay safe on the water with tips on common boating mishaps and how the right insurance keeps your journeys smooth, supported, and stress‑free.
- Boating guidesBoating guides
A library of practical, free boating guides from Haven Knox-Johnston to help support boaters at every stage of their journey.
- Guide to living on a narrowboatGuide to living on a narrowboat
A practical guide to narrowboat living with tips from Floating Our Boat—covering boat choice, budgeting, off-grid life, and UK waterways.
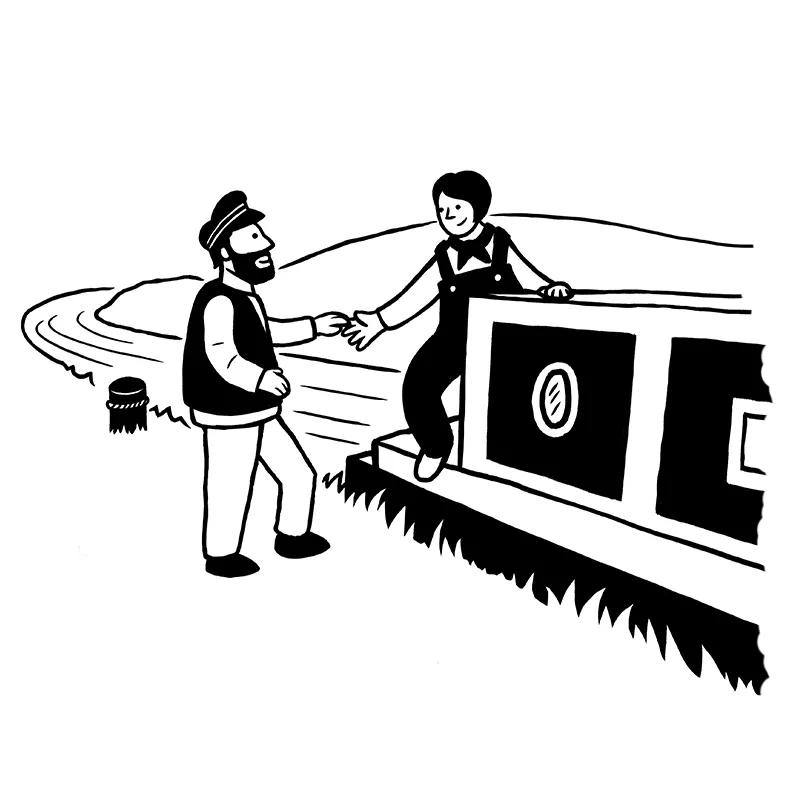
- Guide to buying a narrowboatGuide to buying a narrowboat
A must-read guide offering expert advice for buying a narrowboat, covering finance, survey’s, layouts and avoiding costly mistakes.
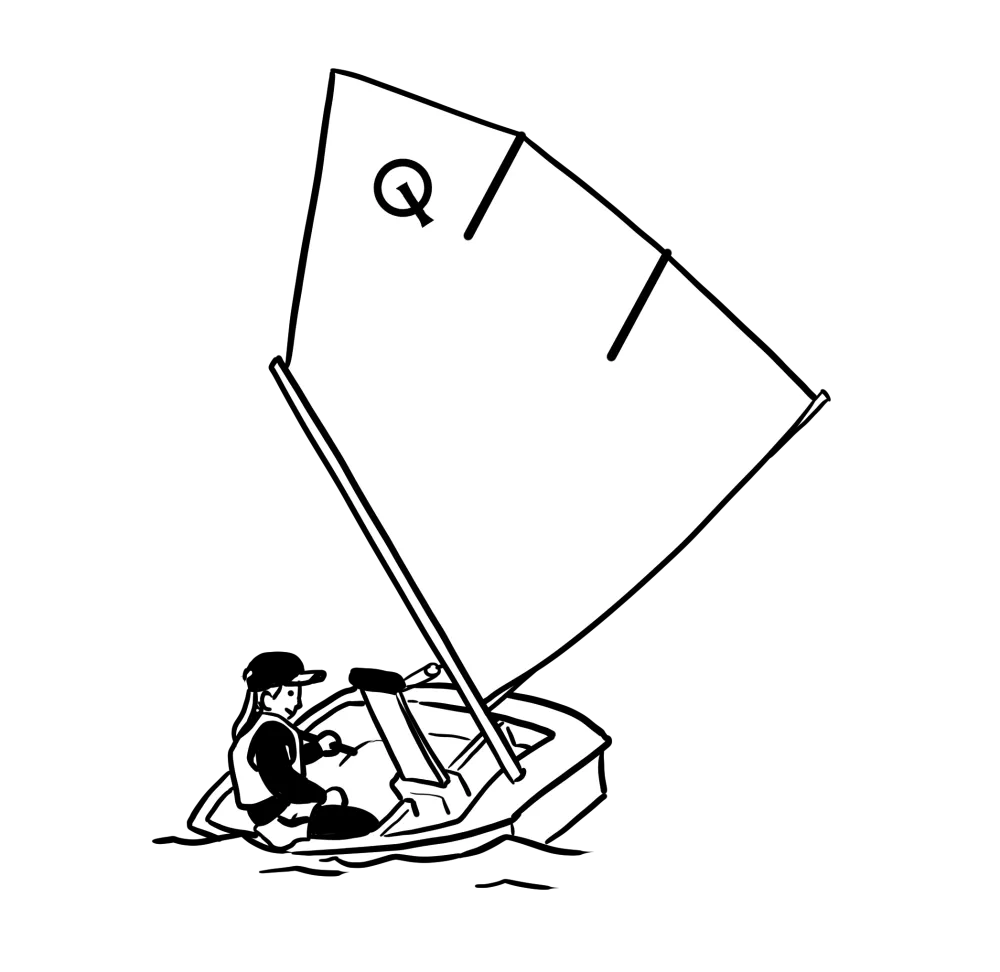
- Teach your child to dinghy sailTeach your child to dinghy sail
A step-by-step guide helping parents introduce kids to dinghy sailing with expert tips, safety advice, and fun learning activities.
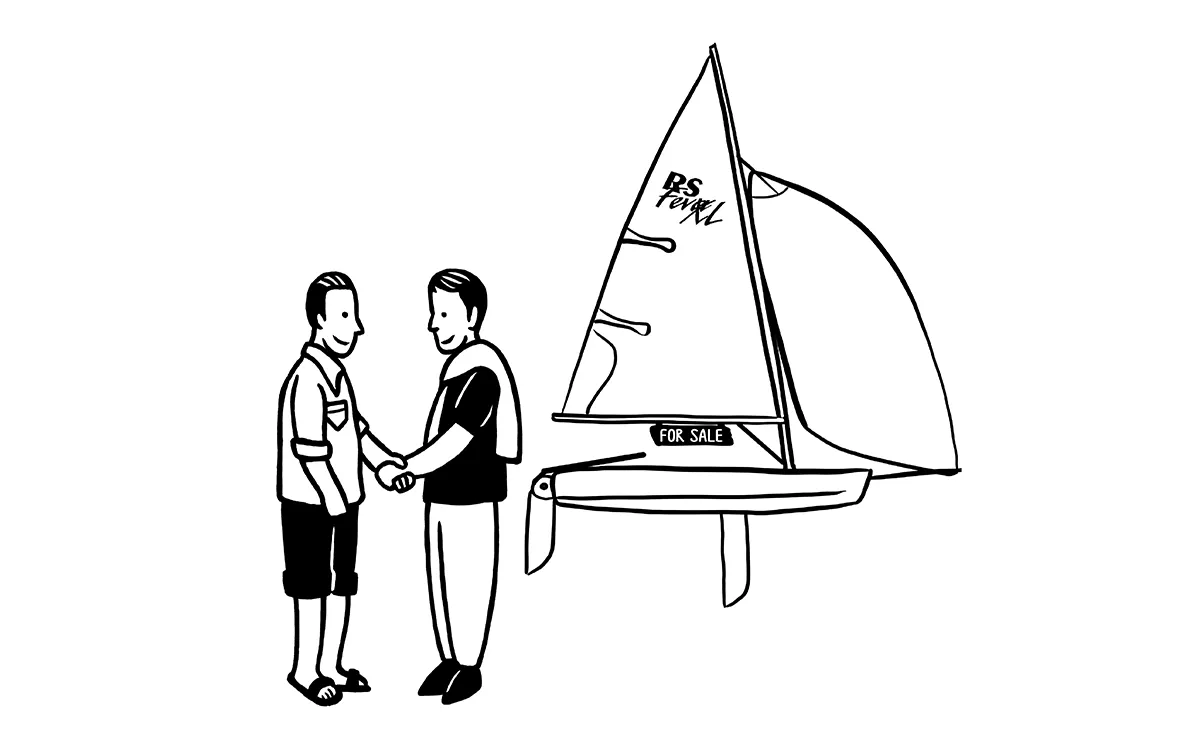
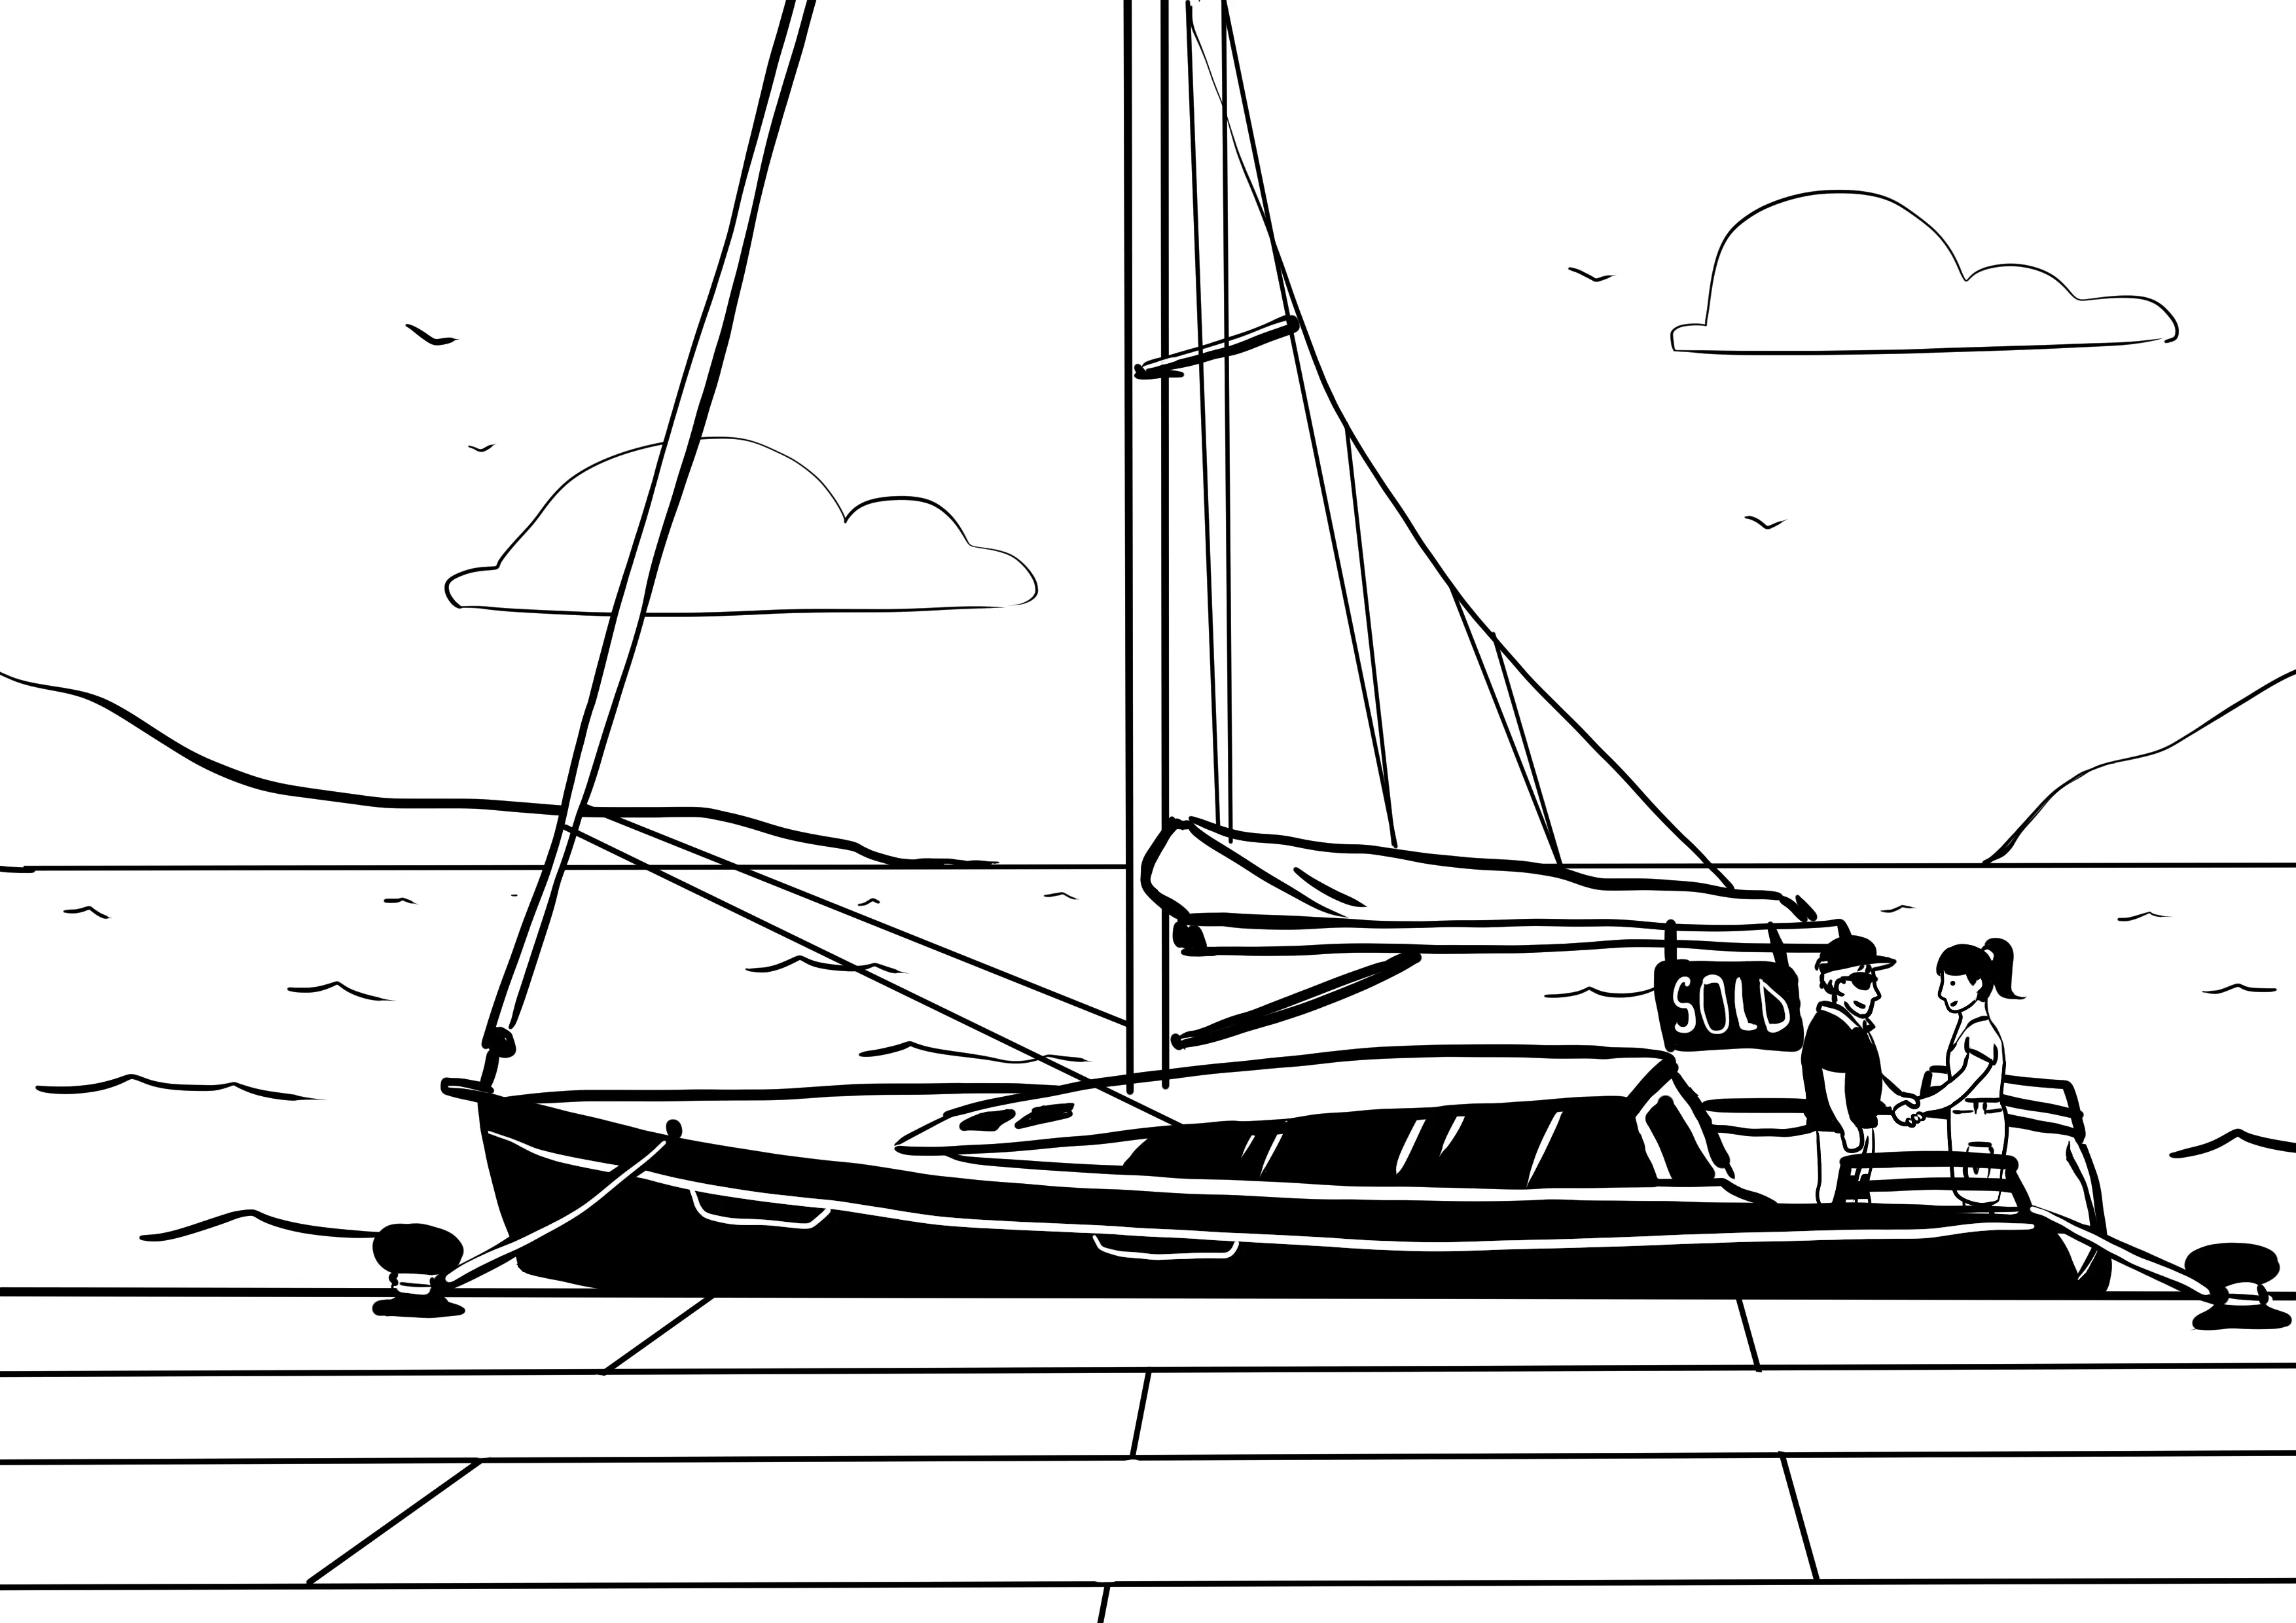
- Guide to buying a boat in the UKGuide to buying a boat in the UK
Featuring expert panellists from the marine industry, this guide contains a whole host of tips on how to make your boat buying transaction run smoothly.
- Guide to living on a narrowboatGuide to living on a narrowboat
- Boating webinar seriesBoating webinar series
Explore our expert-led boating webinar series, covering cruising guides, boat buying, storm prep, seasonal checks, and practical how-to sessions – hosted by Paul Knox-Johnston with industry specialists.
- Podcast: Waffling by the WatersidePodcast: Waffling by the Waterside
Join Paul Knox-Johnston for lively boating chats, personal stories, and expert insights from UK canals to open oceans.
- Episode 1: Liveaboard with Floating our BoatEpisode 1: Liveaboard with Floating our Boat
In this episode Paul KJ chats with Fran and Rich from popular YouTube Channel Floating Our Boat about living full time aboard a boat.
- Episode 2: Meet the Waterways ChaplaincyEpisode 2: Meet the Waterways Chaplaincy
In this episode Paul KJ talks to the Reverend Chris Upton and guests to understand more about how the Waterways Chaplaincy helps boaters in need.
- Episode 3: The one about Kingsground NarrowboatsEpisode 3: The one about Kingsground Narrowboats
In this episode Paul Knox-Johnston chats with Tiffany Gale Haynes about Kingsground Narrowboats’ heritage, craftsmanship, and passion, revealing the dedication behind one of the UK’s most respected builders.
- Episode 1: Liveaboard with Floating our BoatEpisode 1: Liveaboard with Floating our Boat
- Buddy’s marina guideBuddy’s marina guide
Explore our interactive map of all the marina’s in the UK to find your next mooring spot.
- A-Z of nautical termsA-Z of nautical terms
A glossary of boat terminology and abbreviations
- Cruising range mapsCruising range maps
A list of our cruising range maps with explanations
- Haven KJ on tourHaven KJ on tour
Boat events not to miss
- Crick Boat ShowCrick Boat Show
Overview of the Crick Boat Show event
- Largs Regatta FestivalLargs Regatta Festival
Overview of the Largs Regatta Festival
- Dartmouth Royal RegattaDartmouth Royal Regatta
Overview of the Dartmouth Royal Regatta
- Kip RegattaKip Regatta
Overview of the Kip Regatta
- Plymouth Boat FestPlymouth Boat Fest
Overview of the Plymouth Boat Fest
- Southampton International Boat ShowSouthampton International Boat Show
Overview Southampton International Boat Show event
- TYHA Marina Awards 2026TYHA Marina Awards 2026
Overview of the TYHA Marina Awards
- Crick Boat ShowCrick Boat Show
- Risk management for boat ownersRisk management for boat owners
- NewsNews
News, true stories and expert insights from the Haven KJ crew
- AboutAbout
Find out what we stand for
- About your crewAbout your crew
The insurance crew who really care.
- Our historyOur history
Throughout our history, we’ve never stood still! Over the decades, we’ve grown through mergers, milestones, and new ownership, yet our commitment to protecting boaters and their passions has remained constant. Today, we continue to build on that proud heritage, bringing shipshape insurance to you.
- Feefo feedbackFeefo feedback
Want to know a little bit more about our Platinum standard services? Just click through to see what our customers say about us!
- Robin Knox-JohnstonRobin Knox-Johnston
The star of the high seas
- SustainabilitySustainability
Sail smarter: Protect our waters
- Work with usWork with us
Explore careers at Haven Knox‑Johnston. Discover current opportunities and meet the team behind our trusted boat insurance expertise.
- About your crewAbout your crew
- Marine TradeMarine Trade
- Get a QuoteGet a Quote
- Renew my PolicyRenew my Policy
- Make a claimMake a claim
We’ll get you back on the water
- Contact UsContact Us
Contact us

×